


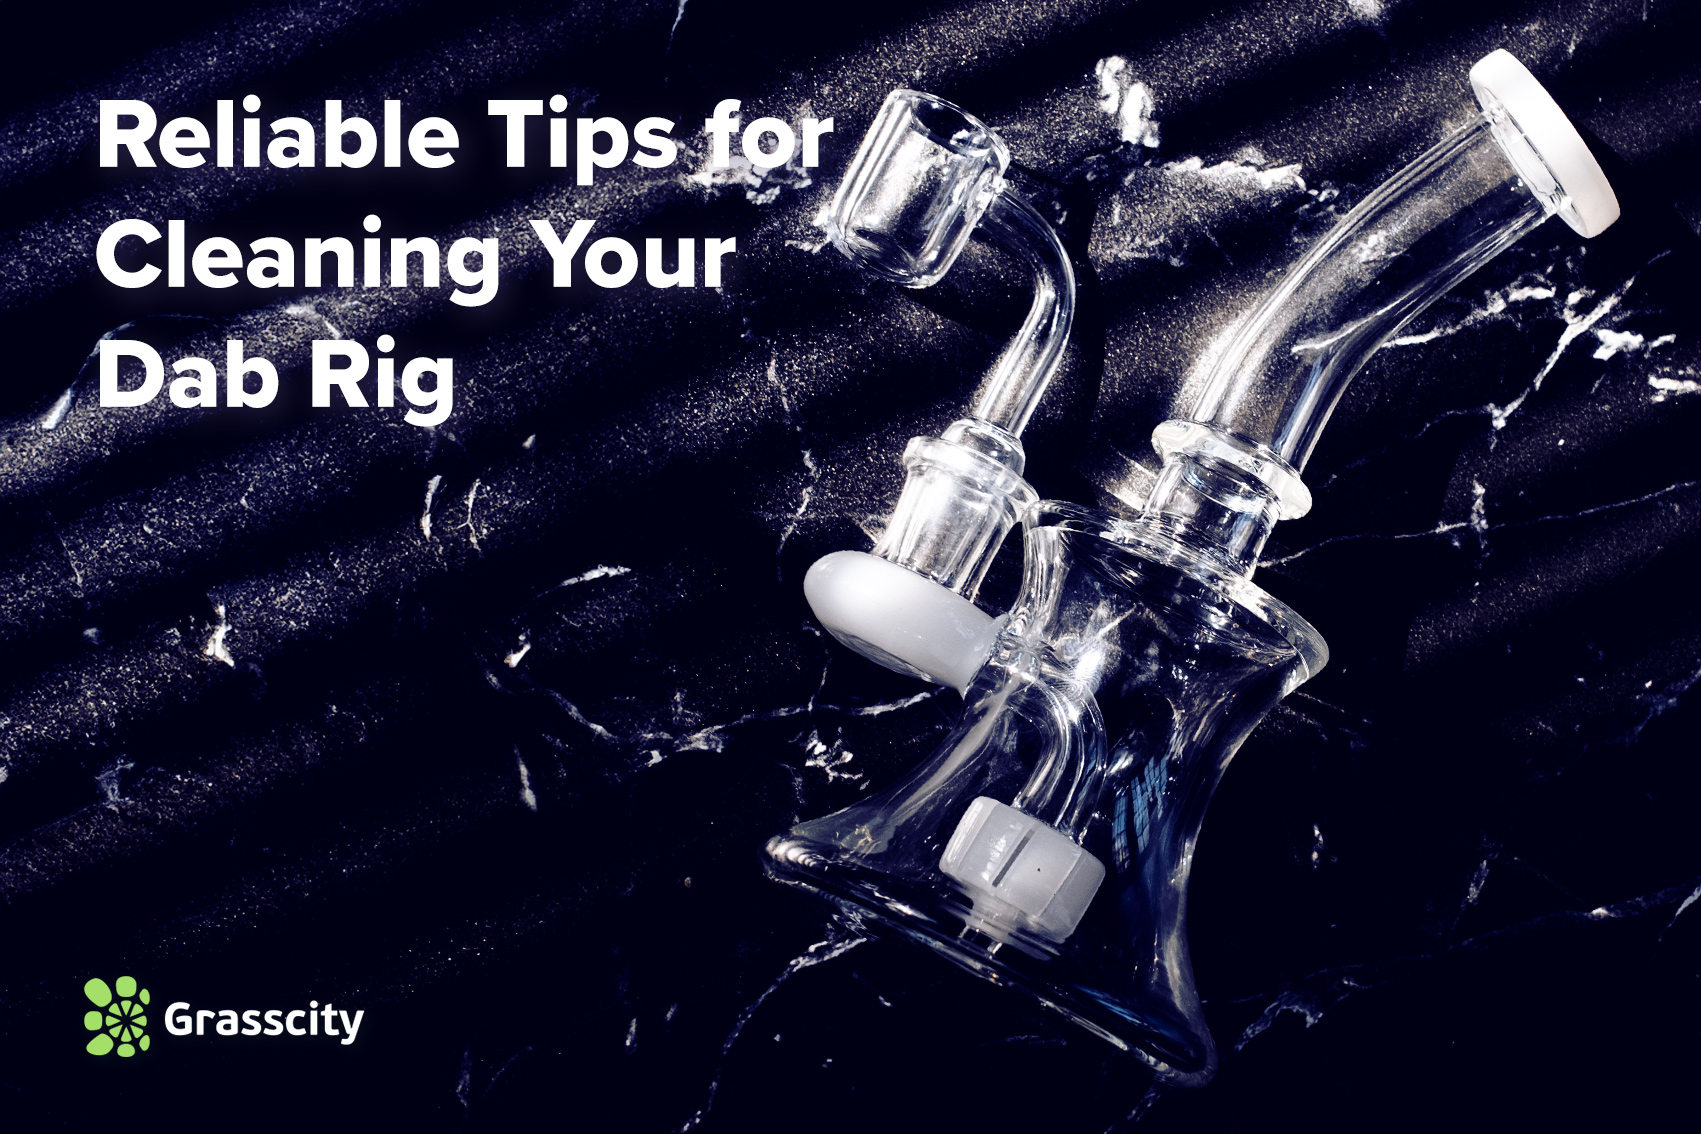
Welcome, dab lovers! You know that keeping your rig clean isn't just about hygiene; it's about maintaining that perfect hit every time. But let's face it, the beautiful dance of vapors doesn't come without a bit of a mess. Fret not! We're breaking down the nitty-gritty of each dab rig component—from the nail/banger to the dabber, torch, and rig body—and their roles in delivering your much-loved concentrates to your eager senses.
In this casual yet insightful guide, we'll look deep into the art of cleaning by understanding why some pieces like the nail/banger require special attention and a delicate touch during the scrub-down session. Plus, we'll spill trade secrets on keeping every element of your dabbing gear sparkling as if it's fresh out of the box. Grab your cleaning kit, and let's get that rig gleaming!
Keep Your Sessions Fresh: Why Regular Dab Rig Cleansing Matters
Ever noticed a weird taste when taking a hit from your dab rig? That's your wake-up call signaling it's time to clean up the act—or rather, the glass. Regular cleaning isn't just about aesthetics; it's about the quality of your smoking experience and the lifespan of your beloved rig. Let’s look into why a clean dab rig is the way to go.
Dirty Dab Rigs: A Buzzkill for Your Smoking Experience
Think about it: layers of old resin not only muck up the clarity of your glass, they also tamper with the flavors and aromas of your concentrates. The result? A lackluster sesh that leaves much to be desired. A clean rig makes sure every hit is as tasty and pure as intended.
Residue Risks: Don't Compromise Your Health
Left unchecked, that sticky residue does more harm than just flavor-fouling. It can impact the overall cleanliness of your rig. That's why cleaning your rig isn't just about upkeep, it's about maintaining a pleasant experience.
Gleaming Glass Pieces: The Benefits Galore
A spotless dab rig is more than a shiny showpiece. It’s your ticket to:
- Improved performance: A clean airway makes sure optimal airflow.
- Better heat control: Residue can affect heat distribution, while a clean rig allows for precise temperature handling.
- Longer lifespan: Regular maintenance wards off stubborn stains and cracks, prolonging your rig's life.
Startthe ritual of cleaning as part of the experience. Not only will your rig thank you with improved performance, but your taste buds will too. Stay tuned for our best cleaning solutions to keep your rig in top-notch condition!
Best Cleaning Solutions for Dab Rigs
Keeping your dab rig sparkling clean doesn't have to be a chore if you've got the right arsenal at your disposal. Let's explore the best cleaning solutions to maintain that pristine look and make sure your rig functions like it's brand new.
Commercial Cleaning Solutions vs. DIY Options
When it comes to rig maintenance, you've got two routes: commercial cleaning solutions or do-it-yourself (DIY) mixes. Store-bought solutions often promise convenience and efficiency, while homebrewed concoctions can be gentle on the wallet and customizable to your cleaning standards.
- Commercial cleaners are formulated specifically for dab rigs, intended to assist in the removal of resin and grime. They often offer convenient cleaning options.
- DIY mixtures, such as isopropyl alcohol and salt, can be equally effective. They're tried-and-true methods favored by many rig lovers for their simplicity and availability.
Remember, the key is to choose solutions that are safe for glass, preventing any damage to your dab rig. Whether it's a high-end commercial cleaner or a homemade blend, make sure it's gentle yet effective without leaving any hazardous residues behind.
Importance of Choosing Glass-Safe Solutions
What's even more important than the cleanliness of your rig? Its longevity, of course! Harsh or abrasive cleaners can wreak havoc on a glass rig, causing scratches or even cracks. When picking your cleaning agent, always opt for solutions that are non-abrasive and friendly to glass, making sure your rig stays intact for countless sessions to come.
Step-by-Step Cleaning Instructions for Your Dab Rig
Keeping your dab rig pristine not only makes sure peak performance but also prolongs its life. Let's look into a detailed breakdown of how you can achieve a sparkling clean rig with some simple steps.
Overview of the Necessary Tools and Items
Before we start, make sure you have these key items on hand:
- Isopropyl alcohol (preferably 90% or higher)
- Coarse salt
- Zip-lock bags or small containers
- Pipe cleaners or cotton swabs
- Hot water
- Towels or paper towels for drying
Detailed Guide for the Cleaning Process
Follow these steps to make sure a thorough clean:
Disassembling Your Dab Rig
Start by carefully disassembling your dab rig. Refer to the manufacturer's instructions to avoid damaging any delicate components. If possible, keep components in a designated tray or mat to avoid losing them.
Cleaning Residue with Isopropyl Alcohol
Fill a zip-lock bag with isopropyl alcohol and submerge the smaller components of your dab rig, such as the bowl and nail. For larger parts that can't be bagged, pour some alcohol into the rig and swish it around.
Using Salt as an Abrasive
Add coarse salt to the bag or directly into the rig. The salt acts as an abrasive and helps remove the sticky resin. Gently shake the bag or swivel the rig to allow the salt to scrub the interior surfaces.
Rinsing with Hot Water
After the alcohol and salt have worked their magic, rinse every component thoroughly under hot water. Hot water helps to dissolve any remaining residue and washes away the alcohol and salt mixture.
Drying Your Dab Rig Completely
It's crucial to make sure everything is completely dry before you reassemble the rig. Use towels or paper towels to pat down the components, or let them air dry on a rack if you have the time.
Reassembling Your Clean Dab Rig
Once all components are dry, you can start reassembling your dab rig. Make sure all pieces are securely fitted to avoid leaks or damage during use.
With these steps, your dab rig will be as good as new, providing you with pure hits and a flawless experience every time. Happy cleaning!
Disassembling Your Dab Rig Properly: A Step-by-Step Guide
Before you can look into the nitty-gritty of getting your dab rig sparkling clean, you need to know how to take it apart without causing any damage. A careful disassembly makes sure each component receives a thorough clean and helps avoid any cleaning mishaps. Let's break it down!
Instructions on How to Carefully Take Apart the Rig
- Glass Bowl or Banger: Start by gently twisting the bowl or banger counter-clockwise to remove it. If it feels stuck, avoid using force. Apply heat with a lighter to loosen it up first.
- Downstem: If your rig has a removable downstem, wiggle it side to side as you gently pull it out. Again, if it's stuck, use heat before applying more pressure.
- Water Chamber: Dump out the old water from the chamber over a sink to avoid spills.
- Mouthpiece and Other Parts: Remove any additional parts such as the mouthpiece or decorative elements that may be detachable.
Tips on Organizing the Components to Ease Reassembly
- Lay out a clean towel or paper towel and place the disassembled parts in the order you removed them. This not only keeps small parts from getting lost but will also make it easier when you go to put it all back together.
- Take a photo of your dab rig before disassembly if you're worried about forgetting the correct order.
- Use small containers or zip-lock bags to hold tiny components like screens or decorative pieces that can easily go missing.
- Pro Tip: Labeling each bag or container with a marker can save time and confusion during reassembly.
With all the parts of your dab rig laid out and organized, you're ready to move on to the deep clean. Remember, a patient and gentle approach will keep your rig in top shape!
Cleaning Residue with Isopropyl Alcohol
Sticky resin doesn't stand a chance when you bring isopropyl alcohol into the mix. This household hero is incredibly effective at breaking down that stubborn gunk that clings to your dab rig, making the cleaning process smoother and more efficient.
Why Isopropyl Alcohol is an Effective Cleaning Agent for Sticky Resin
Isopropyl alcohol, commonly known as rubbing alcohol, has solvent properties that make it ideal for cleaning oils, tars, and resins. It's the go-to solution for getting your dab rig to sparkle because it dissolves residue quickly and evaporates fast, reducing drying time.
The Correct Concentration of Isopropyl to Use
For an optimal clean, aim for a 90% to 99% isopropyl alcohol concentration. This strength guarantees a more thorough breakdown of the resin. If you can't lay your hands on these concentrations, 70% will work but might need a little more time and elbow grease to get the job done.
Safety Precautions When Handling Isopropyl Alcohol
Though it's a cleaning marvel, isopropyl alcohol is still a chemical, and that means handling it with care. Makes sure you're in a well-ventilated area and avoid any open flames, as it's highly flammable. Always wear gloves to protect your skin and try not to inhale the fumes. Safety first, clean second!
- Use in a well-ventilated space
- Avoid open flames or heat sources
- Wear protective gloves
- Avoid inhaling the fumes
Understand the Scrubbing Power of Salt for Your Dab Rig
Ever wondered why salt is your go-to seasoning in the kitchen? Beyond amplifying flavors, it can actually transform the cleaning ritual of your dab rig! Salt, when used as an abrasive, plays a pivotal role in scrubbing away those stubborn, sticky residues. Let's look into the gritty details of how salt becomes your rig's best friend.
How Salt Works Its Magic
Here's the scoop: when you add salt to the mix, it acts like a mini scrubber. Tiny salt granules scurry through the chambers of your rig, agitating and breaking down the gunk that's clinging on for dear life. By shaking vigorously, these granules reach every nook and cranny, making sure a thorough clean.
The Best Type of Salt to Use
Not all salts are created equal when it comes to cleaning! You'll want a salt that's coarse enough to scrape away residue without dissolving too quickly. The unanimous winner? Kosher salt. Its large crystals are particularly effective in acting against the grime. If your rig has seen days of—let's just say—intense love, consider kicking things up a notch with an even coarser option like rock salt.
- Remember that table salt won't be as effective – it's just too fine to handle the heavy lifting.
Rinsing with Hot Water: The Final Touch
After you've worked hard to dislodge and dissolve that stubborn residue with isopropyl alcohol and salt, it's time to give your dab rig the spa treatment with a good hot water rinse. Hot water plays a crucial role in the cleaning process, helping to loosen any remaining residue and washing away the last traces of grime. Plus, it helps to remove leftover cleaning solution, making sure your rig is perfectly primed for your next use.
Steer Clear of Thermal Shock
While hot water is great, you've got to be careful not to shock your precious glass dab rig with sudden temperature changes. To avoid any risk of damage, follow these simple techniques:
- Begin with warm water and gradually increase the temperature to hot.
- Never pour boiling water directly into your rig, as the extreme heat can cause cracking or breakage.
- Allow your rig to adjust to room temperature naturally before heating it up for use.
By paying attention to these hot water rinsing tips, you'll makes sure your dab rig stays clean and intact, session after satisfying session.
Drying Your Dab Rig Completely
Now that you've given your dab rig a good scrub and rinse, it's crucial to dry it thoroughly. Leaving any moisture in your rig can lead to unsightly water spots and, more seriously, the growth of mold. That's the last thing you want in something you'll be inhaling from!
Why Skipping the Dry Step Can Ruin Your Experience
Thorough drying is not optional; it's an essential step in the cleaning process. Water spots are one thing, but mold poses a genuine health risk and can totally ruin the taste and purity of your dabs. Plus, residual moisture can dilute your concentrates, dampening the entire experience. So, let's make sure every last drop is banished!
The Art of Air-Drying
Air-drying is the gentlest and most effective method to dry your dab rig. Simply leave the components in an area with good air circulation, and let nature take its course. It might test your patience, but it's the best way to make sure a completely dry rig without the risk of leaving fibers or particles behind, which can happen when using towels.
Towel-Drying Tips
If you're short on time or just prefer to use a towel, make sure to use a lint-free microfiber or a fresh paper towel. Gently pat down the components, taking care not to scratch the surface of your rig. Avoid vigorous rubbing, which can create static and attract dust.
- Always use clean, dry towels to prevent bacterial transfer.
- For hard-to-reach areas, use a cotton swab or a small fan to promote air circulation.
- Never use heated tools like a hairdryer, as the excessive heat can damage your rig.
Remember, the goal is a spotless, dry, and hygienic dab rig, ready for your next session. With these tips, you'll keep your rig sparkling clean and fully functional, hit after refreshing hit!
Reassembling Your Clean Dab Rig: A Step-by-Step Guide
Now that you've got each component of your dab rig sparkling clean, it's time to put it all back together. Follow these simple step-by-step instructions to make sure your dab rig is reassembled correctly for a flawless smoking experience.
Step-by-Step Reassembly Instructions
Make sure Dryness: Before you start reassembling, double-check that each piece is completely dry. Any residual moisture can affect the performance of your dab rig or lead to water stains.
Secure Connections: As you attach each component, make sure the connections are snug and secure. However, be careful not to overtighten as this could cause damage, especially with glass components.
- Base: Begin with the base of your dab rig. If there's a percolator or diffuser, make sure it's aligned properly before securing it in place.
- Downstem: Carefully insert the downstem into the appropriate slot. Make sure a tight fit to prevent any vapor leakage during use.
- Bowl or Nail: Attach the bowl or nail last. This should screw in or slide into the downstem with minimal effort.
Take a moment to inspect your dab rig once it's reassembled. Do a gentle wiggle test to make sure everything is stable and secure. It's better to catch any issues now than during your sesh!
Maintaining a Cleaning Schedule: Keep Your Dab Rig Sparkling
Staying on top of your dab rig maintenance is crucial for making sure the longevity and functionality of your piece. Just like any other well-oiled machine, a clean dab rig means better performance and a more enjoyable experience. Let's look into how you can keep your dab companion in tip-top shape!
How Often Should You Clean Your Dab Rig?
The frequency of cleaning your dab rig will depend on how often you use it. As a rule of thumb, giving it a thorough cleansing after every few uses will prevent resin from building up and keep your flavors fresh. If you're a heavy user, cleaning your rig daily might be necessary, while casual users can get away with a deep clean every couple of weeks.
Keeping Track of Cleaning Sessions for Optimal Maintenance
Life gets hectic, and it's easy to lose track of when you last gave your rig some TLC. Keeping a simple cleaning log can work wonders. Jot down the date of each cleaning session—it could be in a calendar, planner, or even a dedicated app. Monitoring your cleaning habits not only make sure better performance but also helps you to identify the perfect cleaning schedule for your specific dabbing routine.
- Record the date: Mark every cleaning session on a calendar.
- Note the condition: Keep tabs on how dirty your rig is at each clean to adjust your schedule as needed.
- Maintenance reminders: Set up reminders every week or month to keep you on track.
Remember, an ounce of prevention is worth a pound of cure, and in the world of dab rigs, a regular cleaning schedule is your best preventive measure. Happy dabbing!
Tips to Prevent Excessive Resin Build-up
Keeping your dab rig pristine isn't just about the deep clean sessions—it's about the little things you do along the way. To help keep resin build-up at bay, follow these proactive strategies. Not only will they make your cleaning routine easier, but they'll also make sure that every hit is as flavorful as the first.
Strategies for Reducing Residue During Use
- Temperature control: Using your dab rig at the correct temperature can significantly reduce resin build-up. Keep it not too hot to avoid charring and not too cool to prevent residue.
- High-quality concentrates: Invest in cleaner-burning, high-quality concentrates to lessen residue left behind.
- Small dabs: Smaller-sized dabs will vaporize more completely, reducing the chance for gunky build-up.
- Use a reclaim catcher: A reclaim catcher can trap excess oil before it enters your rig, keeping it cleaner for longer.
Importance of Regular Light Cleaning to Avoid Major Build-ups
Don't let resin have a residency in your rig! Implementing a habit of light cleaning can save you from the hassle of major scrub downs later on. After each session, take a minute to swab out the nail and chamber with a Q-tip dipped in isopropyl alcohol. This simple act, done consistently, will keep resin at a minimum and preserve the fresh taste of your concentrates.
Safe Handling and Storage of Your Dab Rig
Once you've got your dab rig sparkling clean, keeping it that way is all about how you handle and store it. Here are some reliable pointers to make sure your rig stays pristine and ready for your next session.
Techniques for Handling Your Rig to Minimize Dirt Transfer
It's easy to get your dab rig dirty without even realizing it. To keep your rig in top-notch condition, follow these tips:
- Wash Your Hands: Before handling your dab rig, make sure your hands are clean to avoid smudging the glass with dirt and oils.
- Use Clean Cloth: When you're handling or moving your rig, use a clean microfiber cloth to minimize direct contact.
- Gentle Touch: Always be gentle. Harsh movements can lead to accidental drops or the transfer of more grime.
Storage Solutions to Keep Your Dab Rig Clean and Safe
The right storage solution can significantly extend the life of your dab rig by keeping it protected from dust and damage:
- Protective Cases: A cushioned case is ideal for keeping your rig safe from physical damage and limiting exposure to dust when not in use.
- Designated Spaces: Have a particular spot on a shelf or in a cupboard that's clean, dry, and away from direct sunlight to store your rig.
- Stands and Holders: If you prefer having your rig on display, use a stand or holder specifically designed for dab rigs to avoid tipping over and accumulating dust.
Troubleshooting Common Cleaning Issues
Every dabbing aficionado might face a few hurdles when keeping their rig squeaky clean. Don’t worry; it’s all part of the process! Here, we'll go over some reliable tips for tackling those pesky problems head-on, making sure that your dab rig stays in tip-top shape.
Solutions to Common Problems Encountered While Cleaning
- Residue Won’t Budge: If you're struggling to remove stubborn residue, try soaking the affected parts in isopropyl alcohol a bit longer. Sometimes, a little extra time makes all the difference.
- Water Spots: No one likes unsightly water spots. Dry your rig with a microfiber cloth immediately after rinsing to keep it looking pristine.
- Difficult-to-Clean Areas: For those hard-to-reach spots, use pipe cleaners or cotton swabs. They can get into the nooks and crannies and dislodge any lingering residue.
- Streaks on Glass: A hint of vinegar in your rinse water can help prevent streaking. Just make sure to perform a final rinse with plain hot water to remove any vinegar smell.
When to Seek Professional Cleaning or Repair
If you've tried everything and your rig still isn’t sparkling, or if you notice any cracks or damage while cleaning, it might be time to seek professional help. Continuing to use a damaged dab rig can be unsafe, so don't hesitate to contact a specialist if you’re in over your head. They can provide a thorough cleaning or advise you on potential repairs or replacements.
Eco-Friendly Cleaning Alternatives
Concerned about the impact of your cleaning routine on Mother Earth? Fear not! You can keep your dab rig sparkling clean while staying green. Let's look into some natural cleaning solutions that are not only effective but also kind to our planet.
Natural Cleaning Solutions and Their Effectiveness
Who said cleaning has to involve harsh chemicals? Nature has its own powerful cleaning agents that can do wonders for your dab rig:
- Vinegar: A mild acid, vinegar excels at breaking down gunk and grime. It’s especially good for removing water stains and mineral build-up.
- Baking soda: A gentle abrasive, baking soda can scrub away tough residues without scratching your glass.
- Lemons: The citric acid in lemons not only provides a fresh scent but also helps in cutting through resinous buildup.
The Benefits of Sustainable Cleaning Practices on the Environment and Your Health
Embracing eco-friendly cleaning practices for your dab rig isn't just great for the earth; it's also a boon to your health. By choosing natural cleaning alternatives, you can explore options that align with your preferences for cleaning products.. Plus, sustainable cleaning reduces your ecological footprint, making sure that you are part of the solution, not the pollution.
Remember: a clean dab rig is essential for a pure experience, and going green with your cleaning routine can improve that experience even further. Happy, healthy dabbing!
Keep Your Dab Rig Gleaming: A Recap & Call to Arms
Throughout our comprehensive journey, we've underscored the importance of maintaining a clean dab rig to guarantee the purest smoking experience. A sparkling rig makes sure flavorful hits and peak performance—something every enthusiast can appreciate. Now, it's time to put knowledge into practice.
By embracing the reliable cleaning routine we've outlined, you're setting yourself up for success and longevity in your dabbing adventures. Use our tips, from selecting the right cleaning solutions to mastering the drying process, to keep your rig in pristine condition. Remember, a well-maintained dab rig is not just about hygiene; it's an essential ritual for the dedicated dabber.
We'd love to hear how these tips are transforming your cleaning regimen. Better yet, if you've got personal hacks or suggestions that make the task easier or more efficient, share them with our community in the comments below. Your insights could be the game-changer for fellow dabbers!
Ready to improve your cleaning game? We invite you to explore our specially handpicked selection of cleaning products and tools, designed to make your routine a breeze. Don't forget to subscribe for the latest content on maintaining your dab rig and enhancing your smoking sessions. Together, let's keep those rigs as clean as the day they were made!
- Recap: Regular cleaning is key for the best dabbing experience.
- Encouragement: Use our reliable tips for hassle-free maintenance.
- Invitation: Share your cleaning insights and read what others suggest.
Here's to clean rigs and unforgettable dabbing experiences!